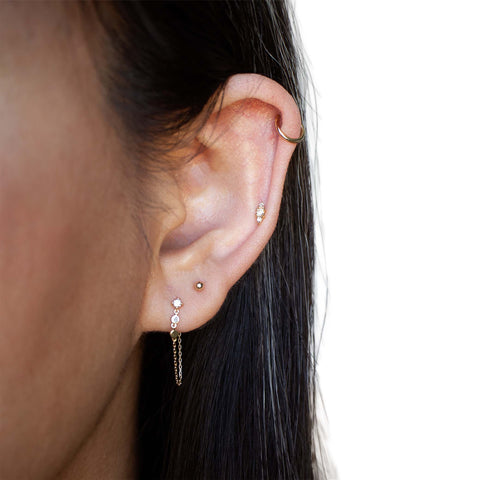
A close friend of ours has both her lobe and second lobe piercings that were fully healed, but she hadn’t worn earrings in about 5-6 years. Traditional butterfly-back earrings bothered her when she slept, and it just wasn’t worth the hassle for her to enjoy wearing earrings. I’ve known her for over 10 years and didn’t even realize her ears were pierced! That's how often she wore earrings due to the discomfort. It was such as shame, as earrings are an easy way to elevate your outfit and make you feel put-together with minimal effort.
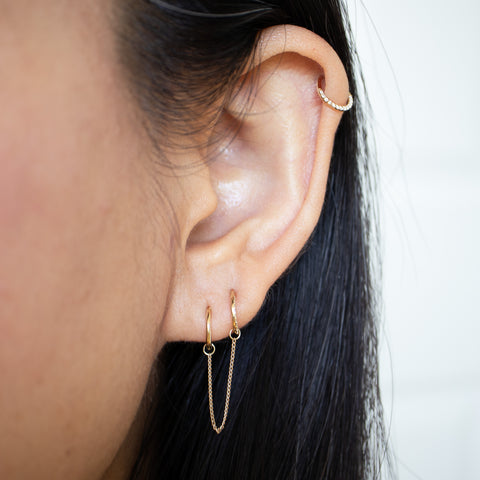
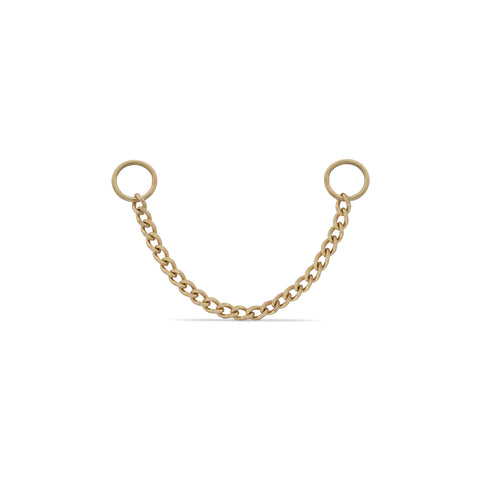
When we opened our store, she became interest because all our jewelry is designed for comfort. Our earrings won't poke you or cause discomfort, making them ideal nap earrings. That's when we discovered her piercing holes were still there but partially closed, so we decided she'd be the perfect test case! Luckily, her piercings weren't completely closed, so here's what we did to reopen her old piercings.
Important Disclaimer: This blog shares our personal experience and is not intended as medical advice. Always consult a professional piercing specialist if needed.
Step 1: Check the Piercing
Start by sanitizing a stud post with alcohol and gently checking if the piercing is open. Go through the front of the piercing first. If it feels stuck, try from the back. If the post goes through easily, you can skip to Step 4.

Step 2: Massage the Area
If the post doesn't go all the way through the piercing, massage the pierced area and lightly pull the lobe away from your head. This helps warm up the tissue and stretch the skin, making it easier to slide the post into the piercing. If this works, move to Step 4.

Step 3: Dealing with Scar Tissue (Consult a Professional)
If you can feel the post coming through either from the front or back but can’t quite push it through the final layer of skin, you might be dealing with scar tissue. In this case, we highly recommend seeing a piercing specialist. We do not advise doing this on your own. However, our friend was determined and asked for our help since she’d made it this far.
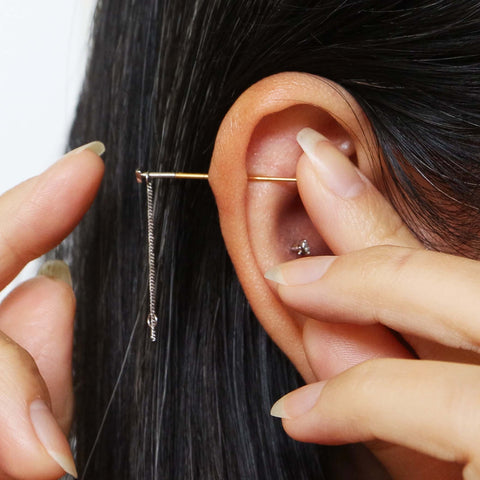
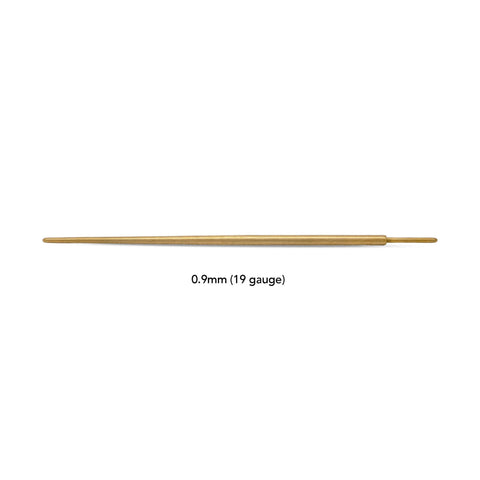
After checking that there were no visible blood vessels, we used a sharper needle to gently push through that last layer of tissue. It took about 20 minutes to gather the courage to apply enough force, and there was even an audible "POP!" when the needle finally broke through. She said it didn’t hurt at this stage (she handles pain incredibly well), but again, we do not recommend attempting this step without professional help.

Step 4: Clean and Maintain the Piercing
Once we successfully reopened the piercing, it was essential to keep it clean. We used alcohol or wound wash to clean the front and back of the ear around the piercing. If you’re switching to another earring, use the post that’s already in your ear as a guide to carefully slide in the new earring.
Personally, I have piercings at odd angles, so this is a crucial step for me when changing earrings, as it helps guide the new jewelry in smoothly.

What to Do If the Piercing Still Won't Open
If none of these steps work, we suggest going to a piercing studio where they can use a hollow needle to reopen the hole along the original tract. Avoid places that use a piercing gun, as it can create a new tract that may not align with the original hole. If the only option is to create a new hole, try to place it as close to the original piercing as possible to maintain symmetry.
Remember, a hollow needle is more controlled, whereas a piercing gun can be unpredictable and might accidentally create a new path.